Install and Setup Multipass
Multipass is a great new tool from the folks at Canonical (who make Ubuntu). It's a super easy way to spin up and spin down little VMs to try things out. - Brian Holt from Microsoft
This steps are for Windows 10 Pro, if you have a different version of Windows or are using macOS, you better read this.
Installing Multipass
Direct download link:
multipass-1.5.0+win-win64.exe
Taken from: https://github.com/canonical/multipass/releases
But there is an official page with a download link: https://multipass.run/
Auto-Enabling Hyper-V
Hyper-V is an operation system component that is initially disabled.
The Multipass installer will automatically try to enable Hyper-V.
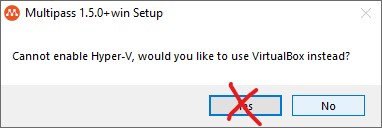
If you've already enabled Hyper-V, you can see a confusing message during install:
Click No if you have already enabled Hyper-V.
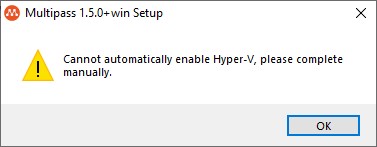
And press OK:
If for some reason Hyper-V does not automatically turn on, you can manually turn it on later.
Enabling Hyper-V manually
Advanced users can enable it with a single PowerShell command:
Enable-WindowsOptionalFeature -Online -FeatureName Microsoft-Hyper-V -All
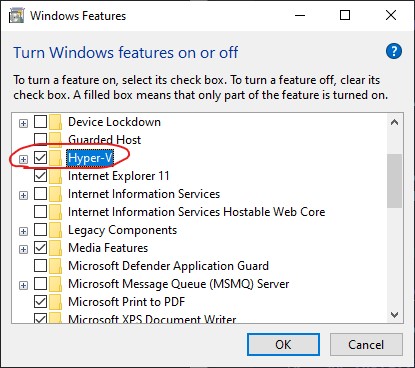
Or, if you prefer a graphical interface, press Win+R, type OptionalFeatures and press Enter.
In the window that opens, check the Hyper-V box.
Wait for the setup to finish
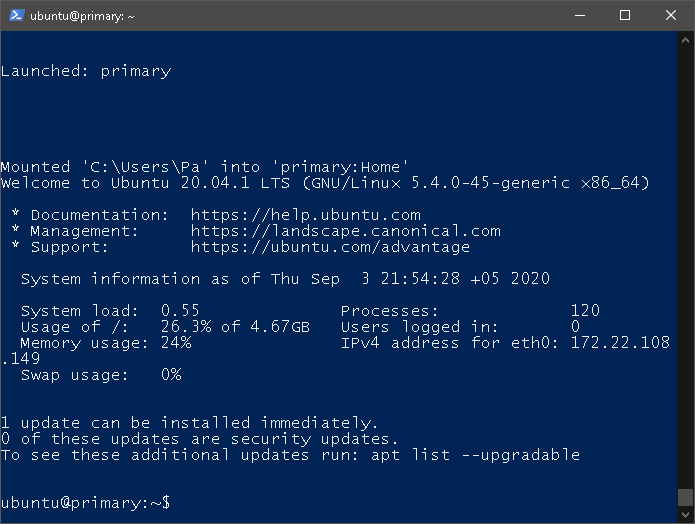
After a very long 5-15 minutes of "retrieving image" and "configuring primary" you should see:
This proccess is completely automatic. 👍
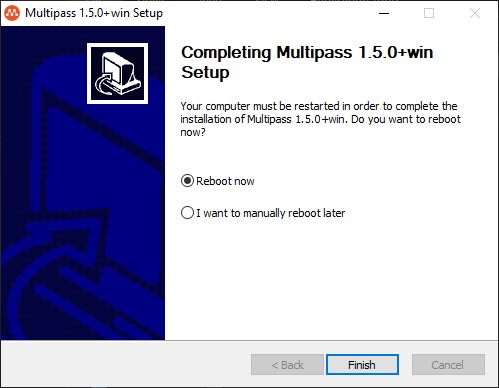
Reboot
After enabling Hyper-V, a system reboot is required:
Start Multipass
You can start Multipass by running this command in PowerShell:
multipass shell
Or you can right-click on the orange tray icon and choose Open shell, which is identical.
Errors
If you see an error in PowerShell terminal:
Microsoft.PowerShell_profile.ps1 cannot be loaded because running
scripts is disabled on this system.
You need to right-click on the orange tray icon, select Stop, wait for Multipass to stop and click Quit. Launch Multipass again from the Windows Start menu.
